TL;DR: Enter your current firmware setting, the filament distance you requested, and the distance that actually moved. The calculator gives you corrected Marlin E-steps or Klipper rotation distance. Apply the shown value, save or restart the printer, then run the same slow test again. A second measurement is what tells you the correction worked.
Why should you calibrate your extruder?
Extruder calibration makes the amount of filament requested by the printer match the amount that physically moves. If the printer asks for 100 mm, a calibrated extruder should feed 100 mm. This gives later flow and slicer tuning a trustworthy starting point.
This is most useful after changing an extruder, motor, drive gear, mainboard, or firmware configuration. It can also help when the printer always feeds too much or too little filament by a repeatable amount.
E-steps are not the same as flow rate. E-steps or rotation distance describe the printer's hardware. Flow rate, also called extrusion multiplier, is a slicer setting that can change with filament. Ellis' Print Tuning Guide explains why machine calibration should come before per-filament flow tuning.
Measure the filament before changing firmware
Start with a clear filament path and an extruder that is not clicking or grinding. If you test through the nozzle, heat the hotend to a safe printing temperature for the loaded material. A clog, slipping drive gear, or fast extrusion move can make a good firmware value look wrong.
Use this measurement routine:
- Find the current firmware value. In Marlin,
M92reports the current steps-per-unit on current versions, while older versions may useM503. Marlin documents both ways to read the setting. - Measure from a fixed point at the extruder and mark the filament. Leave more marked filament than you plan to move.
- Command a slow extrusion. The calculator defaults to 100 mm, but another positive distance works if you enter the same requested value. Klipper's official measure-and-trim procedure uses a slow 50 mm test.
- Measure how much filament actually moved. Enter that movement in Actual extrusion, not the distance left between the mark and the extruder.
- Keep the requested and actual distances in millimeters. The calculator updates as soon as the values change.
Calipers make small errors easier to see, but a clear ruler and careful marks can still reveal a large feed error. Run the test more than once if the measurements do not agree.
What is the E-steps formula?
For Marlin, the corrected value is current E-steps x requested extrusion / actual extrusion. If the extruder moves too little filament, the corrected steps-per-millimeter value goes up. If it moves too much, the value goes down.
For example, start with 93 steps/mm, request 100 mm, and measure 95 mm of movement:
93 x 100 / 95 = 97.895 steps/mm
Choose Marlin E-steps in the calculator to use this formula. The result is rounded to three decimal places and shown with an M92 E command. Marlin defines the E parameter of M92 as the extruder steps-per-unit setting.
Send the displayed command through your printer terminal. Then send M500 if your Marlin build has EEPROM saving enabled. Marlin's M500 command stores settings in EEPROM. If the printer does not support EEPROM saving, update the firmware configuration using the method required by that printer.
How is Klipper rotation distance different?
Klipper uses rotation_distance instead of E-steps. The correction moves in the opposite direction: current rotation distance x actual extrusion / requested extrusion. A printer that feeds too little needs a smaller rotation-distance value.
Choose Klipper rotation distance before entering the current value from the [extruder] section of printer.cfg. The calculator keeps a separate Klipper value, applies the correct formula, and returns a line such as rotation_distance: 32.830.
Replace the existing value in printer.cfg, save the file, and restart Klipper. Do not put the Marlin result into Klipper. Klipper's official documentation defines rotation distance as the filament movement produced by one full motor rotation.
Common calibration problems
- The actual distance changes on every test. Look for a loose drive gear, worn filament, a partial clog, heat creep, or an extrusion move that is too fast. A calculator cannot correct inconsistent hardware.
- The new value is wildly different. Check that you entered actual movement, not the distance remaining to the mark. Also confirm that requested and measured values both use millimeters.
- The result shows no value. All three inputs must be positive numbers no greater than 1,000,000. Blank, zero, negative, and extreme values are rejected so the page never shows
NaNor infinity. - Prints still look over-extruded. Verify the machine calibration first, then tune filament flow in the slicer. E-steps should not become a per-spool correction.
- The extruder clicks during the test. Stop and fix the restriction before trusting the measurement. The 3D print troubleshooting guide covers clogs, temperature problems, and other common causes of poor extrusion.
The output is a calculated firmware setting, not a guarantee that the whole extrusion system is healthy. It cannot detect a damaged gear, wrong motor current, blocked nozzle, or loose filament path.
What should you do after calculating the result?
Apply the corrected value, save or restart the printer, and repeat the exact same test. A second result close to the requested distance confirms the change. If it is still off by a repeatable amount, enter the new current value and the new measurement for one more correction.
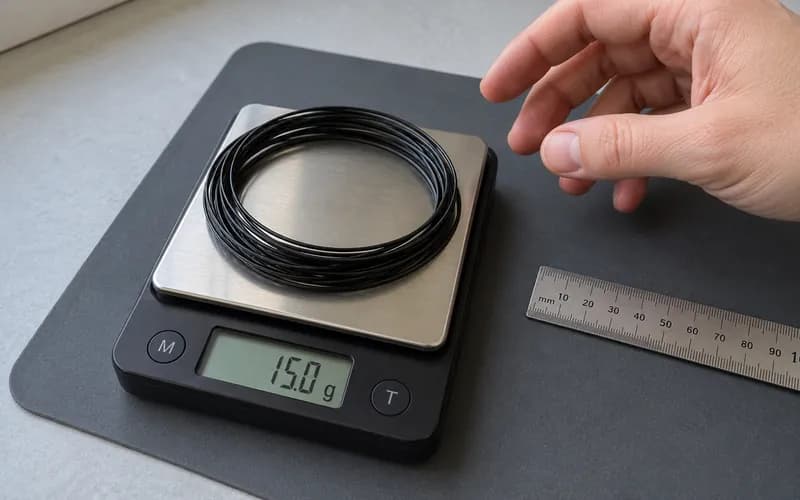
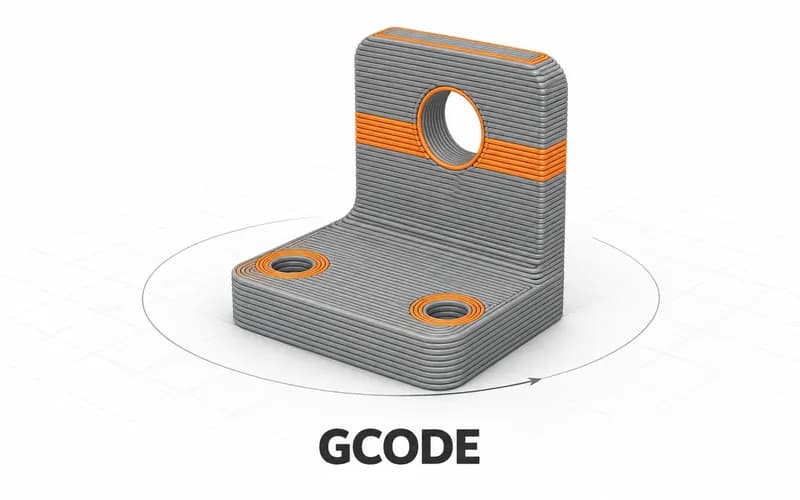
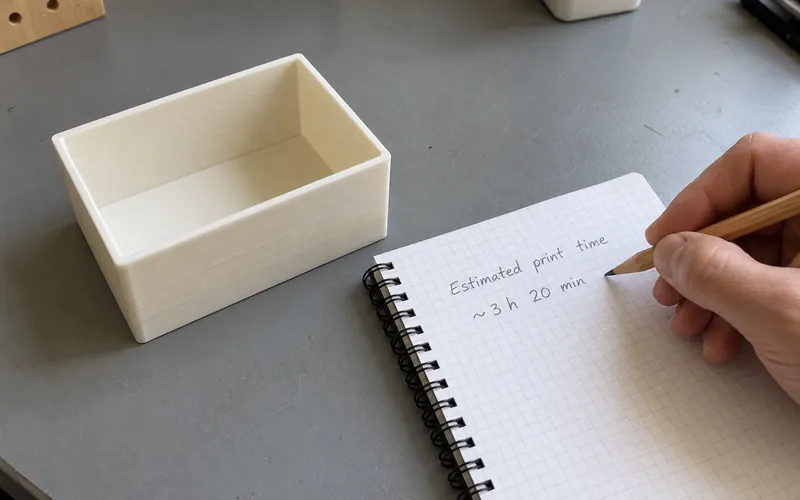
Once the extruder movement is right, continue with slicer and print checks. Use the Filament Weight / Length Calculator to plan what remains on a spool. Open the Gcode Viewer when you need to inspect a sliced toolpath, or use the Print Time Estimator for early job planning.
Then tune the settings that belong in the slicer, such as temperature, retraction, and filament flow. The beginner slicer settings guide gives you a practical order for those checks. Calibrate the machine once, verify it, and treat that result as the baseline for everything that follows.