STL vs G-code
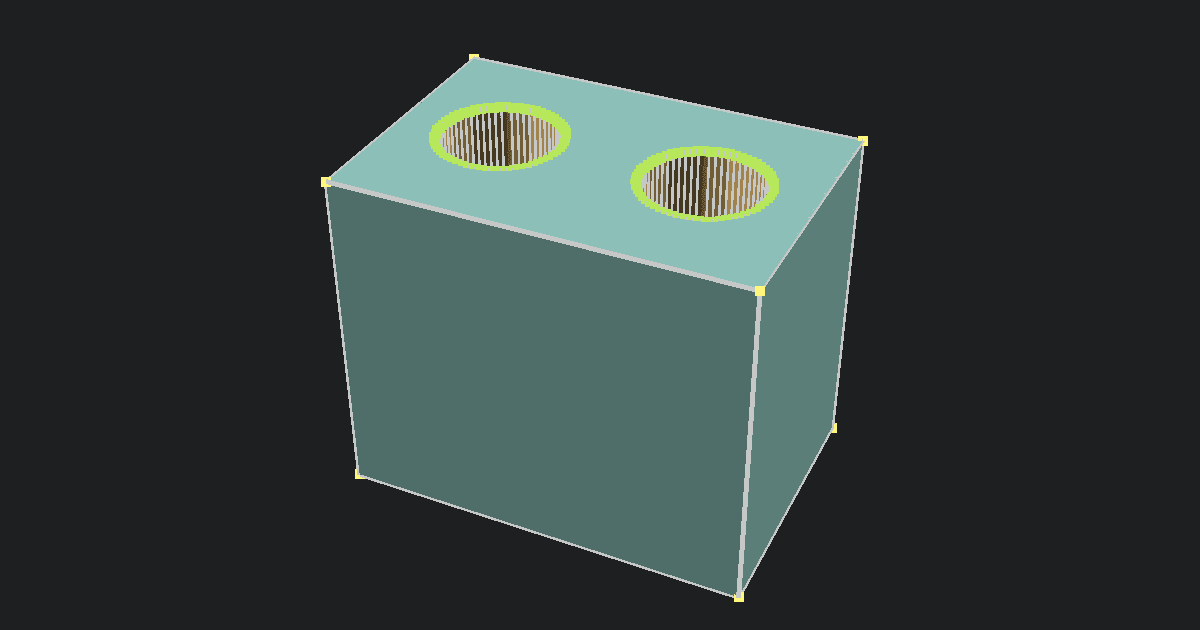
An STL file is the shape of a 3D model, made of tiny triangles. It has no print settings, so your printer can't read it. G-code is the list of steps your printer follows: heat up, move here, push out plastic, then move up one layer. To turn an STL into G-code, you slice the model into layers for one printer and one filament. This tool does that slicing step in your browser.
Printer-by-printer notes
G-code is made for one printer, one nozzle size, and one filament. If you change any of them, make a new file. This tool makes plain .gcode files. Most printers take that file, but a few want their own format.
Works with this tool
- Creality Ender and other Marlin printers: The start code matters. It heats the printer, homes it, and draws a purge line. Pick your printer in the Printer list so the file uses its own start code.
- Klipper printers (Elegoo Neptune 4, Anycubic Kobra 3, and others): Copy the file to a USB stick, or upload it on the printer's web page, like Mainsail or Fluidd. Klipper files also report the current layer to those pages.
- Prusa MK3S and MK4: PrusaSlicer saves
.bgcodefor the MK4, but that is just a smaller version of the same thing. The MK4 prints plain.gcodefrom this tool too. Prusa files also show progress and time left on the printer screen. - FlashForge Adventurer 5M: It takes plain
.gcode. There is no preset yet, so pick Generic Klipper and set the bed to 220 x 220 mm. - Dremel 3D45: It takes plain
.gcode. There is no preset yet, so pick Generic Marlin, set the bed to 254 x 152 mm, and copy the start code from your Dremel slicer.
Use the maker's free slicer instead
- Bambu Lab: Bambu printers expect
.gcode.3mffiles. Plain.gcodefrom an SD card loses features like AMS filament mapping. Use Bambu Studio. - Older FlashForge printers, like the Adventurer 3: They need
.gxfiles. Use FlashPrint. - Older Dremel printers, like the 3D20: They need
.g3dremfiles. Use Dremel DigiLab 3D Slicer.
Starting settings by filament
Your printer preset handles the machine. You still need to match the settings to your filament. These are safe places to start. The label on your spool shows the best range for that brand.
| Filament | Nozzle | Bed | Fan | Speed |
|---|---|---|---|---|
| PLA | 200 to 215 C | 55 to 60 C | 100% | 40 to 60 mm/s |
| PETG | 230 to 245 C | 70 to 85 C | 30 to 50% | 30 to 45 mm/s |
| TPU | 220 to 235 C | 40 to 60 C | 50 to 100% | 15 to 25 mm/s |
Put the nozzle number in Temperature, the bed number in Bed temp, and the speed in Perimeter speed. Set the First layer temp and First layer bed temp 5 degrees higher than the rest of the print. A hotter first layer sticks better. Use a 0.2 mm layer height with a 0.4 mm nozzle for most prints. The fan setting is Max fan speed in the advanced settings. TPU is soft, so it prints best on printers with the extruder on the print head. Print it slowly, with little or no retraction.
Convert STL to G-code on a Chromebook or phone
Desktop slicers like Cura and PrusaSlicer don't install on most Chromebooks unless you turn on Linux. This converter runs in Chrome, so it works on a Chromebook with nothing to install. It also works on phones and tablets. Small models slice fast. Very big models can be slow on a phone.
After you download the file, get it to your printer:
- SD card or USB stick: Copy the
.gcodefile over. Most Chromebooks and phones need a small USB-C card reader for this. - Printer web page: Upload it in OctoPrint, Mainsail, Fluidd, or Prusa Connect from any browser.
How to convert STL to G-code in Cura, OrcaSlicer, or PrusaSlicer
If you have a Windows, Mac, or Linux computer, a desktop slicer gives you the most control. Cura, OrcaSlicer, and PrusaSlicer are all free. The steps are almost the same in each one:
- Install the slicer and pick your printer in the setup wizard.
- Drag your STL file into the window.
- Pick a filament and a print quality, like 0.2 mm.
- Click Slice.
- Click Export or Save to disk to get the G-code file.
Bambu Studio works the same way for Bambu printers and saves a .gcode.3mf file.
Browser converter vs desktop slicer
Both turn an STL into G-code. The difference is where they run and how much you can change.
| Question | This tool | Cura, OrcaSlicer, or PrusaSlicer |
|---|---|---|
| Do I have to install it? | No. It runs in your web browser. | Yes. You download and set it up first. |
| Does it work on a Chromebook or phone? | Yes. | Not on phones. Chromebooks need Linux turned on first. |
| How many printers does it know? | 9 printers, plus Generic Marlin and Generic Klipper. | Hundreds of printers. |
| What kind of supports can it make? | Straight supports and rafts. | Straight, tree, and painted supports, plus rafts. |
| Can it print in more than one color? | No. | Yes, if your printer can. |
| Which files can it save? | .gcode only. | .gcode, plus files like .bgcode and .gcode.3mf. |
| When should I use it? | When you want to print now, on any device, with no setup. | When you need multi-color prints, tree supports, or a printer that isn't listed here. |
Supports, rafts, bridges, and spiral vase
Turn on Support material in the advanced settings when part of your model hangs in the air. The tool checks each layer against the layers under it. Any overhang flatter than the support angle (45 degrees by default) gets straight support columns. By default, supports only start from the bed. Turn off buildplate only to let them stand on the model, too. You can also change the support pattern, spacing, and angle. You can set the gap under the part and add thicker interface layers on top.
Raft layers print a base under the model and its supports. A raft helps small or warped parts stick to the bed. Bridges work on their own. When a layer spans a gap between two supported edges, the tool prints straight lines across the gap at the bridge speed, fan, and acceleration.
For vases and cups, turn on Spiral vase. The bottom layers print as normal. Then the outer wall prints as one smooth spiral that climbs the whole time, with no seam and no top.
Common problems
- The model is tiny. STL files have no units, so the tool treats the numbers as millimeters. A tiny model was probably made in meters or inches. Click Scale to millimeters when the tool asks.
- The model is bigger than the bed. The Printer section warns you. Scale it down, pick a bigger printer, or cut it into parts with the Free 3D Model Splitter.
- Parts of the preview are missing. The mesh probably has holes or broken faces. Repair the STL and try again.
- The first layer won't stick. Match the first layer temperatures to your filament, then add a brim or a raft.
- Thin strings between parts. Raise the retraction length a little, or lower the temperature.
- The printer does something odd at the start. Check that you picked the right printer, so the file uses its own start code.
- You want to change the print later. G-code can't be turned back into a clean model. Keep your STL, then make a new G-code file with new settings.
What to do next
Check the toolpaths before you print. The built-in Gcode preview opens after you click Generate. For a closer look, open the file in the Free Gcode Viewer. If you want to measure the model first, use the Free Online STL Viewer. If your model came as a 3MF file, turn it into an STL first with the Free 3MF to STL Converter.