What can you make with this QR Code to STL Generator?
A 3D-printed QR code can be used anywhere a paper sticker would be too temporary, easy to damage, or difficult to mount. Create durable QR tags for:
- Wi-Fi passwords and guest network signs
- Restaurant menus and product information
- Workshop bins, tools, and equipment
- Machine instructions and maintenance records
- Business contact cards and social profiles
- Keychains, luggage tags, and pet tags
- Event details and calendar links
- Product displays and packaging
- NFC and QR combination tags
- Two-color signs and labels
Recommended starting settings for a 3D-printed QR code
These values produce a reliable, scannable tag on a standard 0.4 mm nozzle FDM printer. Use them as a baseline, then adjust for your content length and printer.
| Setting | Recommended starting value |
|---|---|
| QR width | 50–60 mm for a short URL; larger for dense content |
| Base thickness | 2 mm |
| Relief height | 0.4–0.6 mm (2–3 layers at 0.2 mm) |
| Blank margin | At least 4 modules of clear space |
| Module size (set by QR width and content length) | Keep each module at least 2× your line width, about 1 mm on a 0.4 mm nozzle |
| Error correction | Level M |
| Layer height | 0.2 mm or finer |
| Colors | Dark QR pattern on a light base, or the reverse |
Keep the relief height low. Tall QR modules cast shadows across the light areas of the code under angled lighting, which is one of the most common reasons an otherwise clean print fails to scan.
How to turn a QR code into an STL
-
Choose the QR content Enter a URL, plain text, Wi-Fi network, email address, contact card, SMS message, or calendar event. You can also use Copy image to read an existing QR code from an image on your device.
-
Set the model dimensions Choose the QR width, base thickness, raised pattern height, and blank margin. The tool shows quiet-zone guidance to help you keep enough clear margin around the code.
-
Add optional features Include a title, keychain hole, raised border, center icon, NFC pocket, magnet pockets, inverted relief, or varied block heights.
-
Generate and inspect the model Click Generate 3D model, rotate the model in the preview, and inspect the same base and relief geometry used by both downloads.
-
Download the STL or 3MF Download one combined STL, or download the 3MF to keep the base and QR relief as named color parts that can be recolored in your slicer. You can also enable Split base and QR to receive aligned STL parts in a ZIP.
Customize your 3D QR tag
The generator includes options for changing the size, appearance, mounting method, and print setup of the finished tag.
Size and printability
- QR width: Controls the overall physical size of the QR pattern.
- Base thickness: Sets the thickness of the plate beneath the code.
- Relief height: Controls how far the QR modules extend above the base.
- Blank margin: Adds clear space around the QR pattern.
- Error correction: Sets how much damage or obstruction the code can tolerate (explained in the scanning section below).
Appearance
- Add a title or short label.
- Add a raised border around the plate.
- Use raised or inverted QR geometry.
- Add a center icon.
- Vary the height of the QR blocks for a more textured appearance.
Decorative options can make the tag more distinctive, but the scanning face should remain clear, flat, and easy for a phone camera to read.
Mounting and attachment
- Add a keychain tab and attachment hole.
- Add an underside pocket for an NFC tag.
- Add four underside magnet pockets.
Check the dimensions of your NFC tag, magnets, and mounting hardware before printing the final model.
Multi-color printing
For the strongest visual contrast, print the QR pattern and base in different colors. You can either:
- Download one STL and add a filament change at the first raised QR layer, or
- Download the 3MF and assign new colors to the named Base and QR relief parts in your slicer, or
- Enable Split base and QR and assign the aligned STL parts to different filaments in your slicer.
Each approach produces the same geometry; the 3MF and split files are simply more convenient on multi-material systems such as an AMS.
How to make a 3D-printed QR code scan reliably
A model can look correct in the 3D preview and still be difficult to scan after printing. Print quality, physical size, surface finish, and color contrast all affect the result.
Use large enough QR modules
Every dark or light square in a QR code is called a module. Long URLs, contact cards, and stronger error correction all produce a denser pattern with smaller modules.
As a rule of thumb, each module should be at least twice your slicer's line width, roughly 1 mm on a standard 0.4 mm nozzle. Below that, modules start to merge or drop out after slicing. If the pattern looks dense in the preview, increase the overall QR width or shorten the encoded content. A short redirect URL is often easier to print than a long destination URL with tracking parameters.
Keep a clear quiet zone
QR readers need blank space around the pattern to identify its edges. This area is called the quiet zone. Keep at least four modules of clear space around the code, and avoid placing titles, borders, icons, holes, or other geometry inside this margin.
Use strong color contrast, not just height
Relief height alone may not create enough visual separation for a camera. A dark QR pattern on a light base, or a light pattern on a dark base, will usually scan far more reliably than a single-color print.
Very glossy, transparent, reflective, or similarly colored filaments may reduce readability under certain lighting conditions. Matte, opaque filaments are the safest choice.
Keep the relief low and the scanning face flat
QR readers depend on clearly defined square corners. Keep the relief height in the 0.4–0.6 mm range: taller modules cast shadows over the light areas of the code and can cause scan failures even when the print itself is clean.
Avoid settings or finishing methods that soften the edges of the modules, including excessive smoothing, heavy coatings, or ironing that causes neighboring details to blend together. Make sure the top surface is not warped and that small gaps between modules remain open after slicing.
Choose an appropriate error correction level
QR codes include built-in redundancy so they can still scan when partially damaged. The four levels, L, M, Q, and H, tolerate roughly 7%, 15%, 25%, and 30% damage respectively, but higher levels also produce a denser matrix with smaller modules.
Level M is the practical starting point for most tags. Step up to Q or H when using a center icon or making a tag that will be handled, scratched, or exposed to weather. The denser pattern may need a wider tag to stay printable, so increase the QR width if needed.
Test the physical print
The 3D preview confirms the shape of the exported model, but it cannot guarantee that a physical print will scan. Test the first print with more than one phone, under different lighting conditions, and from several distances before producing a larger batch.
Why won't my 3D-printed QR code scan? Common problems and fixes
| Problem | Likely cause | Recommended fix |
|---|---|---|
| The QR code does not scan | Modules are too small or have merged together | Increase the QR width, shorten the encoded content, or use a smaller nozzle |
| The phone cannot detect the code edges | The quiet zone is too narrow | Increase the blank margin and keep nearby features outside it |
| The pattern blends into the base | There is not enough visual contrast | Print the QR pattern and base in different colors |
| The code scans head-on but fails at an angle | The relief is too tall and casts shadows | Reduce the relief height to 0.4–0.6 mm |
| Module corners look rounded or distorted | Overextrusion, smoothing, or a coarse print setup | Reduce flow if needed, slow the print, or use a finer layer and line width |
| A center icon causes scan failures | The icon covers too much of the QR pattern | Remove the icon, increase the QR width, or try Q or H error correction |
| Small gaps disappear after slicing | The line width or nozzle is too large for the geometry | Increase the model size or use a smaller nozzle |
| The surface is difficult to scan under light | The filament is glossy or reflective | Use matte, opaque, high-contrast filaments |
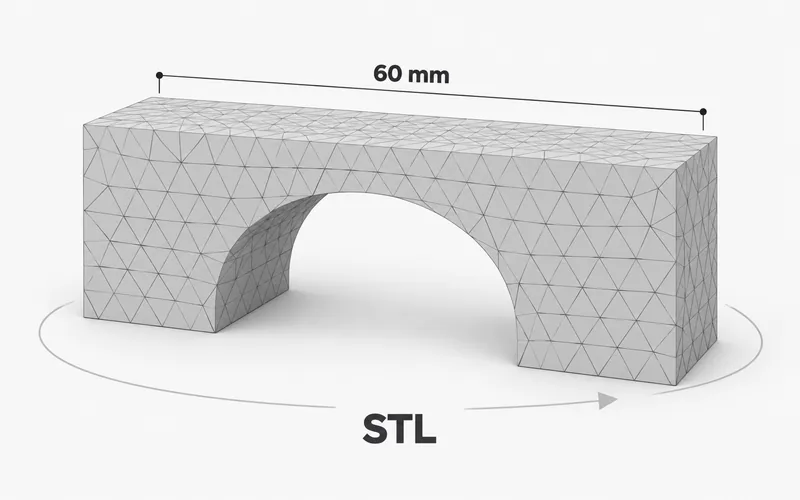
| The STL imports at the wrong size | The slicer interpreted the unitless STL incorrectly | Import or scale the model in millimeters |
Your QR content stays on your device
QR decoding, pattern generation, 3D model creation, previewing, STL export, and 3MF packaging happen locally in your browser. PrintNexus does not ever upload or store the text, URLs, Wi-Fi details, contact information, calendar details, or QR images you use with the generator.
The preview and downloads use the same generated base and relief geometry, so the model shown in the preview represents the geometry included in both the STL and 3MF.
Track updates to the generator
Select Tool Changelog beside the page title to see when the generator launched and what changed in later releases.
What is included in the downloaded files?
The STL and 3MF include the printable geometry selected in the generator, which may include:
- The base plate and QR pattern
- A title or label
- A raised border
- A keychain tab and hole
- A center icon
- NFC or magnet pockets
- Raised, inverted, or varied-height QR modules
The STL stores geometry only. The 3MF also stores millimeter units and keeps the model as two named, aligned parts with separate starting colors: Base and QR relief. The relief part includes the QR modules, raised border, title, and center icon when those features are enabled.
Prepare your QR STL for printing
- Import the downloaded STL using millimeters, or open the 3MF to keep its units and named color parts. You can check the STL mesh first with the Free Online STL Viewer.
- Place the flat back of the model on the build plate.
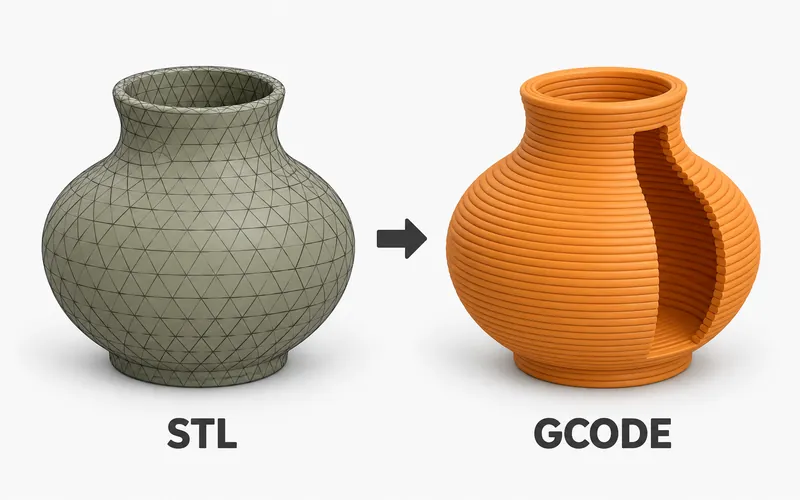
- Slice the model and inspect the QR pattern layer by layer, confirming that the smallest modules and gaps are reproduced clearly. You can preview a basic toolpath with the Free STL to G-Code Converter.
- Set up your colors using the 3MF parts, split STL files, or a filament change, as described in the multi-color section above.
- Estimate the job with the 3D Print Time Estimator if you are producing a batch.
- Print and scan one test before making multiple copies.