What is a layered topographic map?
A layered topographic map shows a landscape as a stack of flat terraces instead of a smooth surface. Each terrace covers one band of elevation, so peaks, ridges and valleys appear as visible contour steps. It is the same look as a laser-cut layered wood topo map, but printed as one joined solid.
That makes it a good keepsake of a mountain you climbed, a park you visit or the valley near home. Every model, or every printer tile, prints as a single piece with no gluing of layers.
What do the contour levels represent?
The tool reads real elevation from Mapzen Terrain Tiles on AWS. It finds the lowest and highest sampled ground inside your outline and divides that range into equal bands. Peaks and valleys follow the elevation data; the surface between them becomes flat terraces.
- Contour levels sets the number of bands. More levels show smaller changes in elevation.
- Step height sets the physical height of each terrace, in millimetres.
These are design choices, so the printed height is not a fixed geographic scale.
Model height = base thickness + (contour levels × step height)
For example, 12 levels at a 1 mm step height give 12 mm of stepped relief. With a 4 mm base, the finished model is 16 mm tall. The preview lists the elevation interval and total height. Contour heights & print notes shows the real elevation where each band starts and the physical height of each terrace top.
How many contour levels should I use?
It depends on how much relief your area has and how large you print it.
- A single peak or small hill: fewer levels keep each terrace wide and easy to read.
- A large range or deep valley: more levels capture ridges and side valleys that a few wide bands would merge together.
- Small prints: too many levels make terraces so narrow that they blur together. Reduce the level count or increase Print width.
Start with the default 12 levels, generate, and compare the preview. Try two or three versions before choosing the one to print.
How to print color layers on a single-extruder printer
You don't need a multi-material printer to get a colored topo map. Because each terrace is flat, you can swap filament between elevation bands.
- Open Contour heights & print notes and note the terrace top heights. Each top is the boundary before the next band starts. Skip the final top height.
- In your slicer, add a filament change or pause before the first layer above each chosen boundary. For example, PrusaSlicer lets you add color changes at selected layers. Use a change or pause command that your printer supports.
- Print, and swap filament when the printer pauses.
Tip: match step height to your layer height. Set Step height to a whole multiple of your slicer's layer height so every color change lands on a terrace edge.
| Layer height | Step heights that divide evenly |
|---|---|
| 0.20 mm | 0.6, 0.8, 1.0, 1.2 mm |
| 0.16 mm | 0.48, 0.8, 0.96 mm |
| 0.12 mm | 0.48, 0.6, 0.96 mm |
Check your base thickness the same way so the first terrace also starts on a layer boundary. Use a fixed layer height for these examples, then inspect the sliced preview to confirm the change positions.
The tool lists the heights; it does not write color-change commands into the file. Your slicer adds those.
Can I print the contour colors on a multi-material printer?
Download Colored 3MF to keep the same palette colors as the preview. Whether those colors become filament assignments depends on your slicer's color support. The palettes run from darker low levels to lighter high levels:
- Sandstone: warm desert tones
- Forest: greens
- Glacier: cool blues and whites
Palettes are decorative and mark elevation levels, not vegetation, rock or snow.
Open the 3MF in your slicer and confirm whether the colors came through. If your slicer supports the palette, assign each color to a filament or material slot. If it imports only the shape, set color changes at terrace heights or paint the model in your slicer. Filaments are not assigned automatically.
STL vs 3MF
| Feature | STL | Colored 3MF |
|---|---|---|
| Color | None | Palette colors included |
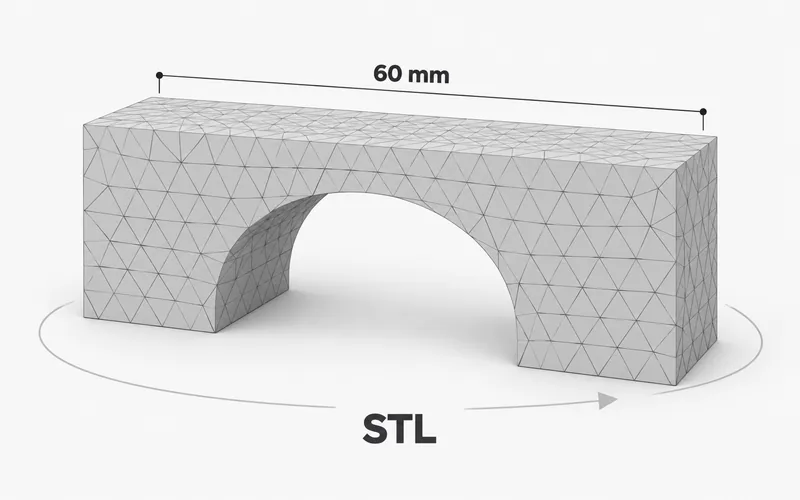
| Units | Coordinates in millimetres; STL does not declare units | Millimetres, declared in the file |
| Source notes | Included alongside the STL in the download ZIP | Embedded in each 3MF |
| Best for | Single-color prints, manual filament changes | Slicers that support palette colors, or manual color setup |
Both formats use the same final mesh.
How to choose your area
Search for a place, or move and zoom the map. Pick a shape: rectangle, square, circle, oval, triangle, hexagon or heart. For Custom, click the corners and close your outline. Use the floating toolbar to move, rotate and edit it.
Areas can range from 20 metres to 250 kilometres across each side, between 85° south and 85° north, and cannot cross the date line.
A mountain or small region is the best place to start. A larger selection covers more ground with the same number of samples, so it shows less fine detail.
How to print a large topo map in tiles
Open Advanced and enable Split into printer-sized tiles. Set Maximum tile side to fit your print bed. The model is divided into equal sections, and contour levels stay consistent across shared edges, so the tiles line up into one continuous map. Use Preview a tile to inspect each section.
Alignment tabs in the base help join neighboring tiles. Connector clearance adjusts how tightly the tabs fit their sockets. Tabs can extend 3 mm beyond a tile side, and tabs near a narrow boundary may be skipped. Check each tile's dimensions before printing.
Print one pair of tiles first to test the fit before printing the full set.
How much detail will my topo map have?
Mesh resolution refines the contour edges, but it can't add detail that isn't in the elevation data. Terrain sources vary by location, and their sampling can be coarser than the map you see on screen.
- Flat areas can't produce meaningful contour steps. If the tool reports flat terrain, choose a hillier area.
- Missing data: if elevation tiles are unavailable, the tool shows an error rather than filling in invented terrain. Try again later.
- Very complex models: reduce Contour levels or Mesh resolution.
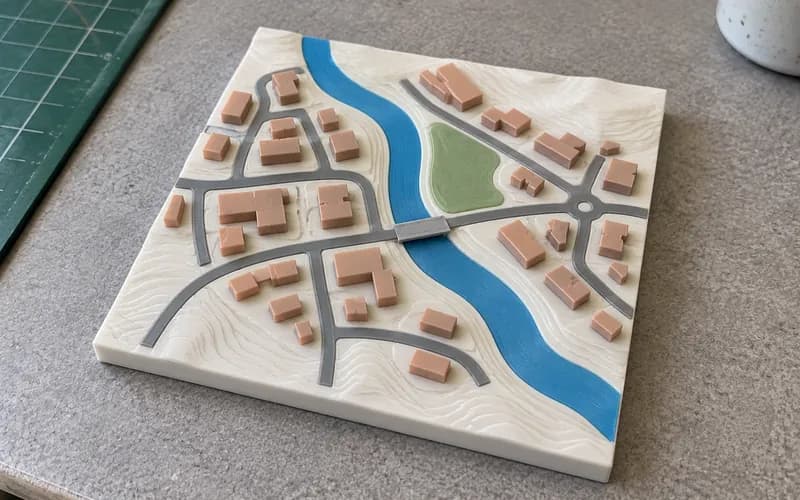
The model contains terrain only. The map display can show streets and buildings, but they aren't exported. For a miniature city with buildings and roads, use the Free 3D Printable Map Maker.
Check your file before printing
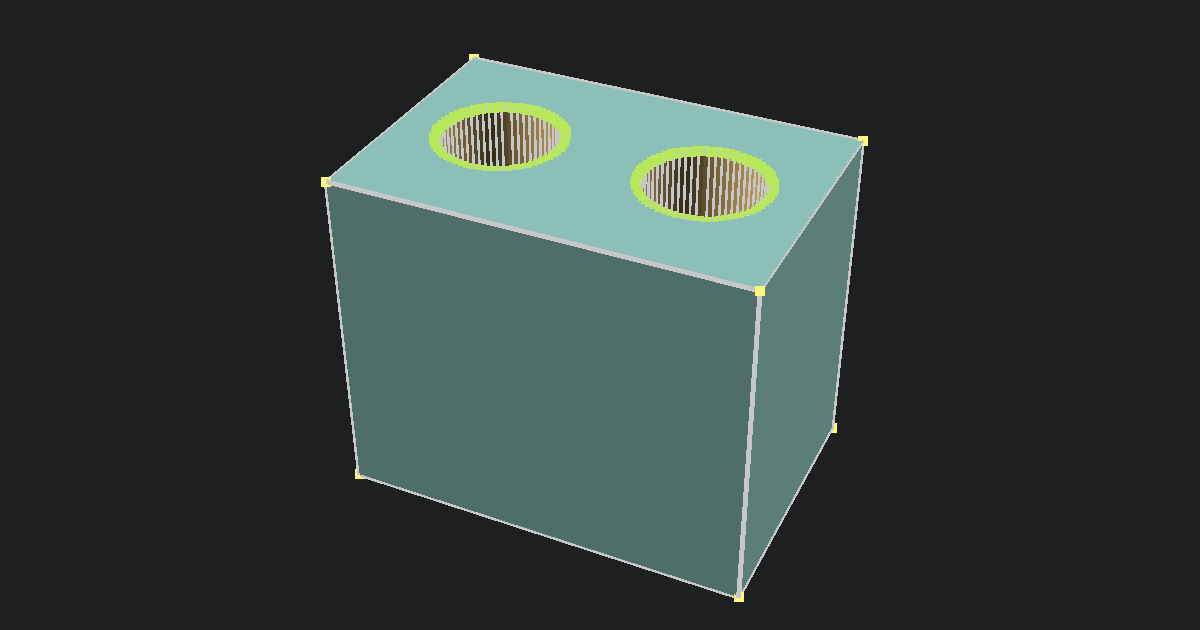
- Inspect the mesh and dimensions in the Free STL Viewer.
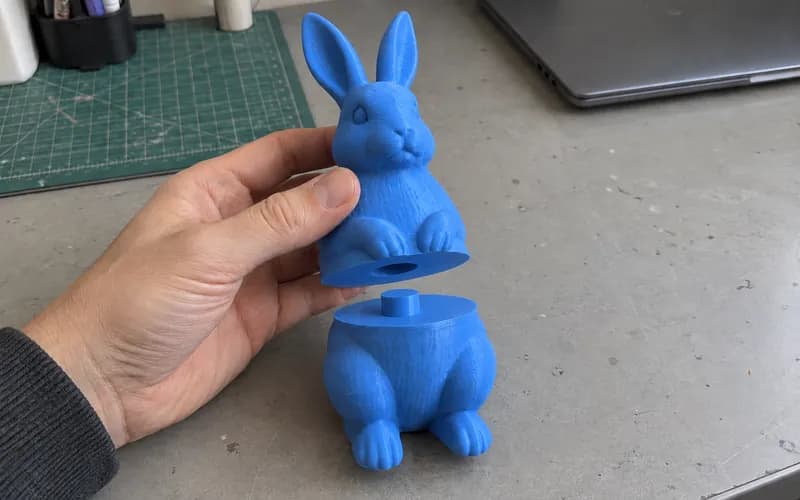
- Need a different cut after export? Split the model with the Free 3D Model Splitter.
Privacy and data sources
Models and downloads are generated on your device and are not uploaded by this tool. Map services receive your searches and selected coordinates to show the map and provide elevation data. The existing search service uses a short-lived server cache. Keep the source credits with any files you share, and follow the terrain providers' terms.
Elevation data: Mapzen Terrain Tiles on AWS.