Split a model into easy-to-print parts
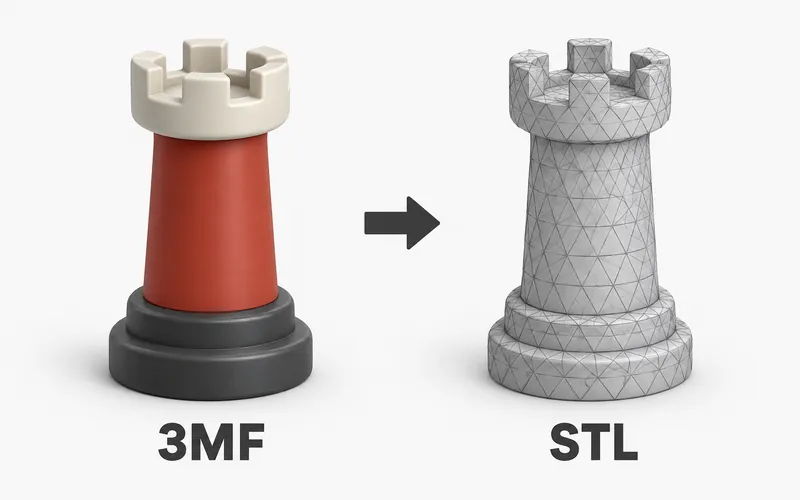
This free 3D model splitter turns one STL or 3MF model into smaller parts. You can split by color, use parts already stored in a 3MF file, or make a straight cut.
This is useful when a model is too large for your printer. It also lets you print each color on its own, then join the parts after printing.
Split by color
If you painted a model or assigned colors in Bambu Studio or OrcaSlicer before saving it as a 3MF file, those color areas may appear here. Choose Color regions, click a color on the model, then click Split selected.
The new part will appear in the list. Select another color to remove it too. Parts you already made will stay in the list.
You can also choose Objects or Build plate items. These choices only appear when the 3MF file contains that kind of part.
Add your own color areas
Click Create color regions to mark the parts you want to split.
- Fill area selects a group of connected faces.
- Round brush lets you paint over the model.
- Triangle lets you color one small face at a time.
Click Use regions in splitter when you are done. Painted areas do not always make a solid part. If an area cannot be split safely, the tool will explain why.
Cut along a line you draw
Choose Curve split to cut a piece off along a line you draw, like around a sleeve or a hat. Click the model to place points. The line follows the surface between them. Click the first point to close the shape. You can drag a point to move it, and Backspace removes the last one.
Then pick how the cut face looks:
- Planar fill makes a cut face that is as flat as your line allows. You can add a connector to it.
- Bulge fill pushes the cut face into the rest of the model, so the cut-off piece sits in a matching pocket. Set the Height, the Taper angle of the sides, and the Tolerance, which is the gap between the two parts.
Click Start cut. The smaller side of your line becomes a new part, and the rest stays as the Remaining body, so you can keep cutting. The line has to stay on one connected part of the model, and that part needs to be closed with no holes. If the cut face would break through the model, or the new part would be too thin to print, the tool tells you before it cuts.
Make a straight cut
Choose Manual cut to place a flat cut through the model. Pick X, Y, or Z to set the starting direction. Move or turn the cut plane, choose which side to keep working on, then click Cut model.
You can add a round or square connector to some cuts. If there is not enough room for it, the tool will make the cut without the connector and show a message.
Check and download your parts
All parts stay in the viewer after a split. Use the eye buttons to hide or show them. You can also move, turn, or resize a part while you check it. These changes only affect the view. They do not change the downloaded file.
Each part starts with a short name, such as Part 1, Part 2, or Remaining body. You can rename any part in Split output before you download it. Download each part on its own, or use Download combined to save them in one 3MF file.
Open the result in your slicer before printing. Check the size, cut faces, and connector fit.
File limits and common problems
Your model stays on your device. The file limit is 100 MB. Very large or detailed models may run slowly or use too much memory.
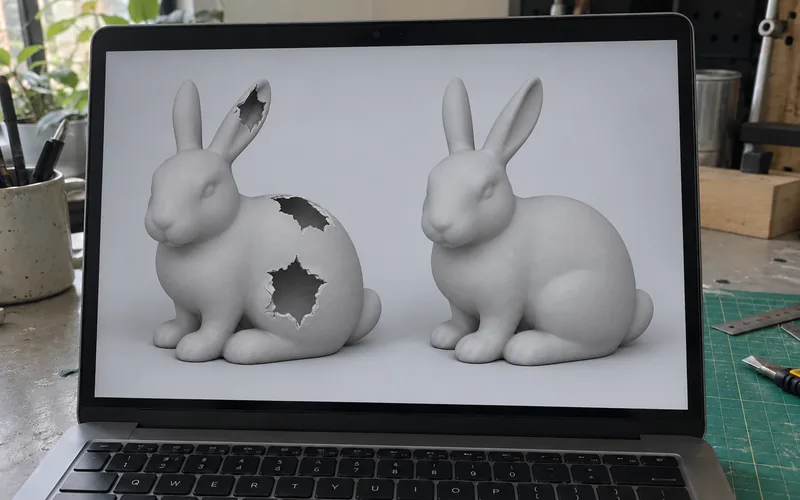
Broken surfaces and small gaps can stop color fill from spreading. Some thin or flat color areas cannot become solid parts. The splitter will warn you when it cannot make a safe result.
You can inspect the mesh with the Free STL Viewer. For a simple print, you can also try the Free STL to Gcode Converter.