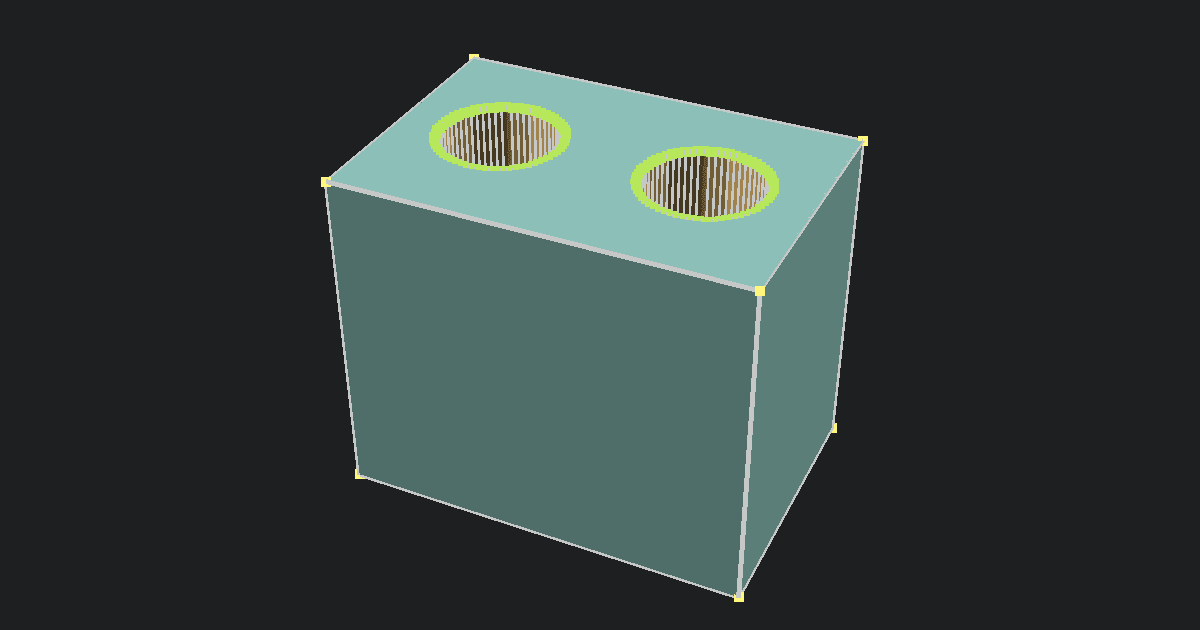
This PLY to STL converter saves a PLY model as an STL file for your slicer. Choose a .ply file, check the preview, and save the result. Your PLY must contain a surface made from connected points, not just a cloud of dots.
Turn a 3D scan into a file for printing
A 3D scanner or an app that builds models from photos may give you a PLY file. If your slicer does not open PLY, converting to STL lets you bring the scanned shape into your printing workflow.
PLY can store a shape along with colors and extra scan details. STL stores the surface as small triangles. The conversion gives you the shape in a widely used printing format, but it does not clean up the scan for you.
Will a PLY point cloud work?
No. A point cloud is a collection of dots marking places on an object. The dots may look like a complete model on screen, but there is no surface connecting them. This converter needs that surface to make an STL.
If you see No PLY mesh faces were found, your file may contain only points. Open it in your scanning software and look for an option to build a mesh, which means joining the points into a surface. Save that surface as PLY, then try this converter again.
Choosing a different filename will not fix a point cloud. The surface needs to be created in your scanning or 3D editing app first.
What happens to the shape and colors?
The tool reads the points and faces that form the PLY model. Faces with more than three corners are split into triangles for the STL. It keeps the existing shape without adding smoother curves or missing detail.
Colors are left out. A colored scan of a figure will become a plain shape, but details that are part of the surface will remain. For example, a raised logo stays raised; a logo that is only a patch of color disappears.
The PLY format can also store extra properties, such as information from the scanner. This converter does not copy those extra fields into the STL. Keep your original PLY if you need its colors or scan information later.
Check the size and which way is up
The converter keeps the model's size numbers and does not rotate it or change its units. STL files do not specify a unit, so check the dimensions when you open the result in your slicer.
For example, if the scanned object is 50 mm tall, make sure the slicer shows 50 mm. If you resize it, keep the proportions locked so the whole shape changes together. Rotate the model in your slicer to put the right side on the print bed.
Fix scan problems before printing
A scan can include holes, rough patches, or bits of the table behind the object. Those unwanted parts can remain in the STL. This converter does not fill holes, remove stray pieces, or make thin walls thicker.
Use your scanning software or 3D editor to clean up the model. Look closely at areas the scanner could not see, such as the underside of an object. Then check the layer preview in your slicer for gaps or missing parts.
If a large scan takes too long to convert, reduce its detail in your 3D editor and save a smaller PLY. Keep a copy of the original so you can go back if the smaller version loses too much detail.
Check your file or try another format
Use the Free PLY File Viewer to inspect the original model, or the Free Online STL Viewer to check your download. If your scanning app already gives you an OBJ file, use the Free OBJ to STL Converter instead.